Monday, April 18, 2011
Making A Window Seat
My husband and I decided to make a window seat, storage unit for the kitchen. We broke a chair when moving in and the area is very specific to a table that seats 4 chairs, I did not want to waste the money on 4 new chairs, or a new dining set just to buy another one that seats more than 4 people in a few years when we buy our next house. So we decided to build a window seat with added storage for all my kitchen gadgets that I use only a few times a year or that are too big to fit in any of my cupboards.
First, we measured the area and figured out how big we wanted it to be. We decided that we wanted the inside of the box to be 18 inches high and 18 inches wide. The length of the box in whole would be the entire length of the windows which was 74 inches. We wanted the lid to open an being 74 inches long would make it very heavy, so we cut it in half, and also put a divider support in the middle. We were using 3/4 inch MDF board, so when drawing the measurements we had to account for that. We also wanted the lid to have a little bit of a lip to make it easy to open. All of that being considered here were the dimensions; two side pieces: 18" X 18" squares, front and back pieces: 74" X 18.75", bottom piece: 74" X 19.5", lid: 74" X 20", the middle support piece was a T shape, the first piece is 18" depth X 17.25" high, we then made a piece that was 18" depth and 6 inches wide to attach to the top of it. Lastly, for the lid we had them cut it 74" X 20", then cut a 2" strip lengthwise making 2 pieces one 74" X 2 (this was attached to the back of the box so we could attach the hinge) and one 74" X 18", then we had them cut the bigger piece directly in half so now we had two pieces that were 37" X 18"
This is the part where my husband took charged, but I helped quite a bit. We used a special tool called a Kreg Pocket Hole Jig to make holes that went in on the inside of the wood so there were no screws on the outside part. We drilled the holes, put a small thin line of wood glue on one of the pieces, pressed the two pieces together and then screwed them together. We did this with all of the pieces, The only piece that we didn't use the jig with was the bottom because we didn't really care of there were screws on the bottom, no one can see it. After all the pieces expect the two lid pieces that are 37" X 18" were put together we sanded it and painted it. We painted it a nice antique white, we used the Valspar paint and primer in one, and did two coats.
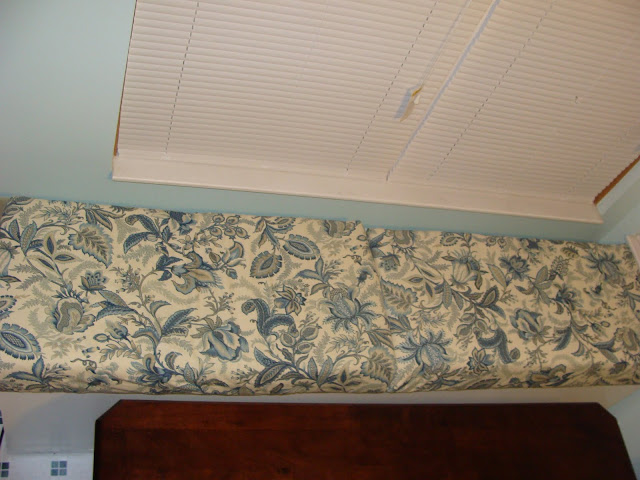
Now this is the part where I took charge, we upholstered the lid. First I got 4 inch thick foam (which is extremely expensive!!! Luckily I got it 50% off but it was still outrageously expensive!), half an inch batting and fabric. We used piano hinges, or continuous hinges, so I lined it all up and drilled/screwed the hinge onto the lid part, did this for both of them. I did this because we needed the hinged to be exposed to be opened but hidden at the same time. I used a staple gun to upholster the lid, I laid the fabric upside down on the top of the lid, put the batting on top of it. I then put the as far back as could but making sure not to go further than where the hinge was, I put the stale gun flush up against the hinge and did several staples along the hinge, and then right along the back edge of the lid. I set the foam down and flipped it upside down. Now I pulled the batting tight, stapled along all side, then did the same with the fabric. Repeated this on the second piece. Lastly, we simply drilled/screwed the back part of the hinge to the 2 inch strip. I love it is, it is wonderful!!!
Subscribe to:
Post Comments (Atom)


No comments:
Post a Comment